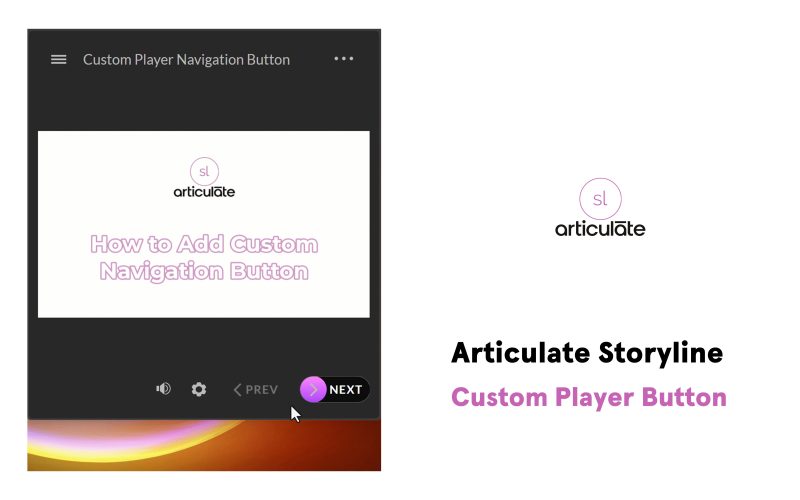
Creating engaging and user-friendly eLearning courses is essential for effective knowledge delivery. One powerful way to enhance your Articulate Storyline projects is by customizing the Storyline player. In this comprehensive guide, I’ll show you how to add a beautiful animated ‘NEXT’ button to your Articulate Storyline eLearning course player using a simple JavaScript trigger. This small tweak can significantly improve user navigation and engagement, making your courses more interactive and visually appealing.

Why Customize the Articulate Storyline Player?
Articulate Storyline is a leading tool for developing interactive eLearning courses. While it offers a range of customization options out-of-the-box, adding custom elements like animated buttons can set your courses apart. A customized ‘NEXT’ button not only enhances the aesthetic appeal but also improves the overall user experience by making navigation more intuitive and engaging.
Benefits of a Custom ‘NEXT’ Button:
- Improved User Navigation: Makes it easier for learners to move through the course seamlessly.
- Enhanced Engagement: Animations can capture learners’ attention and make interactions more enjoyable.
- Brand Consistency: Aligns the course design with your brand’s visual identity.
- Professional Appearance: Adds a polished and modern look to your eLearning content.
Step-by-Step Guide to Adding a Custom Animated ‘NEXT’ Button
Follow these simple steps to implement the custom ‘NEXT’ button in your Articulate Storyline project:
1. Open Slide Master in Articulate Storyline
- Navigate to Slide Master:
- Open your Articulate Storyline project.
- Go to the View tab and select Slide Master. This allows you to make changes that apply to all slides in your course.
2. Add a JavaScript Trigger
- Set Up the Trigger:
- With the button selected, go to the Triggers panel.
- Click Create a New Trigger and set it up as follows:
- Action: Execute JavaScript
- When: Timeline starts
- Object: This Slide
3. Insert the JavaScript Code
In the JavaScript editor, paste the following code snippet:
Paste the Code:
6. Test Your Custom ‘NEXT’ Button
- Preview the Course:
- Save your changes and preview the course.
- Click the custom ‘NEXT’ button to ensure it navigates to the next slide smoothly and the animation plays as expected.
Tips for Optimizing Your Custom Button
- Consistency: Ensure the custom ‘NEXT’ button aligns with your course’s overall design and branding.
- Accessibility: Make sure the button is easily clickable and accessible to all learners, including those using assistive technologies.
- Performance: Optimize your animations to prevent any lag or performance issues during navigation.
Conclusion
Customizing the Articulate Storyline player with a beautiful animated ‘NEXT’ button is a simple yet effective way to enhance your eLearning courses. By following the steps outlined in this guide, you can improve user navigation and engagement, making your courses more interactive and visually appealing. Whether you’re an instructional designer or an eLearning developer, these customizations can set your projects apart and provide a better learning experience for your audience.


