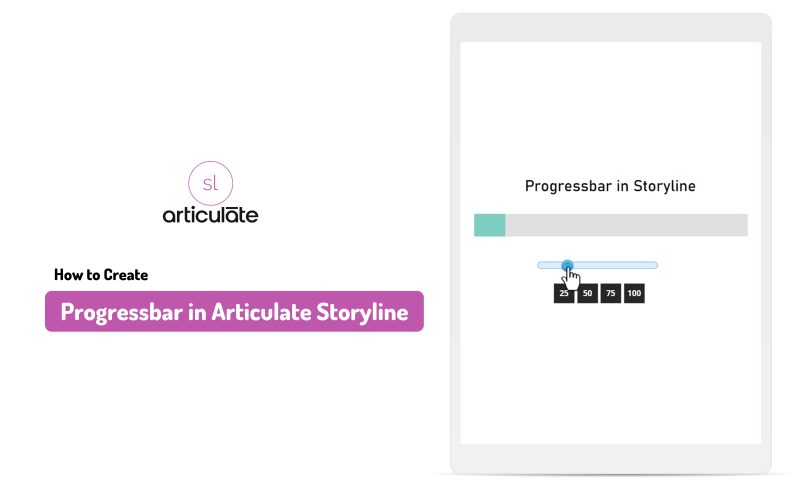
Are you an eLearning developer looking to enhance your Articulate Storyline courses with a dynamic progress bar? While Storyline offers a wide range of built-in controls, it surprisingly lacks a native progress bar feature. Progress bars are essential elements in eLearning, as they provide learners with real-time feedback on their course progression, scene advancement, and scores in gamified scenarios.Creating a progress bar using shapes and triggers in Storyline can be complicated and may not always yield the desired results. To address this issue, I have developed a custom progress bar solution using JavaScript. In this blog post, I’ll guide you through the step-by-step process of implementing this feature in your Storyline projects.
Preview
Why Use a Custom Progress Bar?
- Improved Learner Engagement: Progress bars keep learners motivated and engaged by providing a clear visual representation of their progress throughout the course.
- Enhanced User Experience: A well-designed progress bar enhances the overall user experience by making the course navigation more intuitive and user-friendly.
- Customization Options: With a custom progress bar, you can tailor the appearance and functionality to match your course branding and specific requirements.
- Versatility: The progress bar can be used in various scenarios, such as tracking course completion, scene advancement, and scores in gamified learning environments.
Step-by-Step Guide: Creating a Custom Progress Bar
Step 1: Set Up JavaScript Trigger

In the Slide Master of your Storyline project, create a JavaScript trigger to link to the JavaScript library containing the progress bar code.
Step 2: Copy ALT Text

Identify the object on which you want to display the progress bar and copy its ALT text.
Step 3: Create the Progress Bar

Execute the JavaScript trigger with the following code to create the progress bar:javascript// Example: createProgressBar(MaximumValue, Initial, '#color', 'Object_AltText'); Replace the placeholders with your desired values:
MaximumValue: The maximum value the progress bar can reachInitial: The initial value of the progress bar#color: The hexadecimal color code for the progress barObject_AltText: The ALT text of the object you copied in step 2
Step 4: Update the Progress Bar

Update the Progress Bar: To update the progress bar during the course, use this code:javascript// Example: updateProgressBar('UpdateValue', 'Object_AltText'); Replace UpdateValue with the new value you want to set for the progress bar.
Customization Options
One of the key advantages of using a custom progress bar is the ability to tailor it to your specific needs. I have designed this solution to be highly customizable, allowing you to adjust various aspects such as:
- Values: Set the maximum value, initial value, and update values as per your course requirements.
- Colors: Choose from a wide range of colors to match your course branding and design.
- Appearance: Customize the size, shape, and positioning of the progress bar to fit seamlessly into your Storyline project.
Download Source File
Conclusion
Implementing a custom progress bar in your Articulate Storyline courses can significantly enhance the learner experience and engagement. By following the steps outlined in this blog post, you can easily integrate a dynamic progress bar into your projects using JavaScript.Remember, the key to a successful eLearning course is to create an engaging and interactive learning environment. By incorporating a custom progress bar, you can provide learners with real-time feedback on their progress, motivating them to complete the course and achieve their learning objectives.


How can cmi. progress be added to the JS to return progress value to the LMS