

This tutorial explains how to use two free Python tools to compress media and reduce file size, Storyline Media Compressor (for Articulate Storyline projects) and Media File Compressor (for folders of images, GIFs, and videos). Both use FFmpeg and work on Windows.
What You Need Before You Start
- Python 3 installed on your computer (python.org).
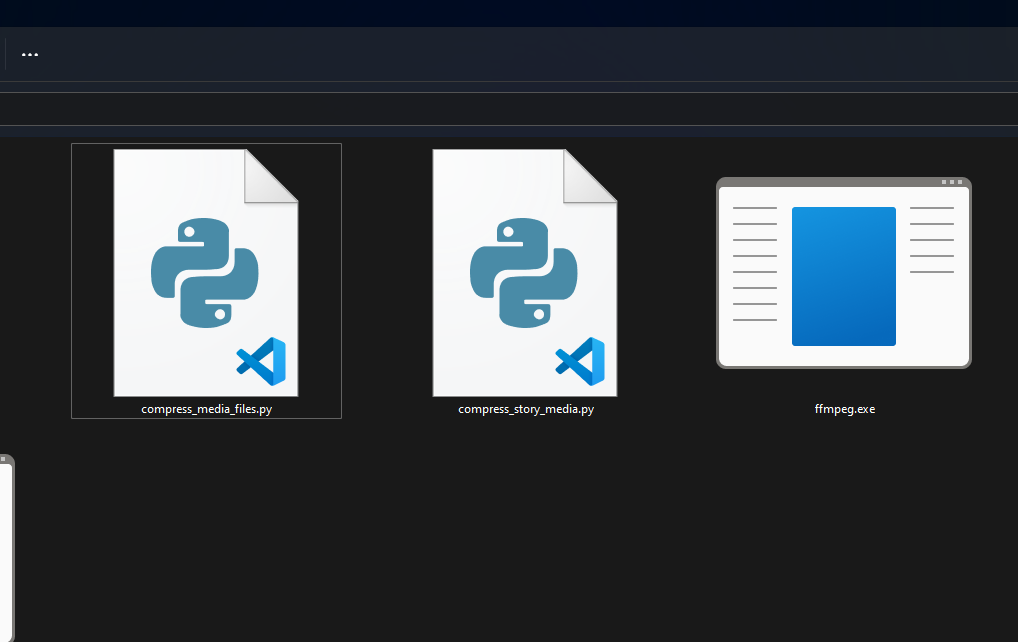
- Download the compressor folder from the shared drive folder. This folder contains:
compress_story_media.py– for .story files (Articulate Storyline).compress_media_files.py– for folders of images, GIFs, and videos.ffmpeg.exe– required for compression (already included in the folder). Everything you need is already in this folder—no additional downloads required!
Part 1: Compressing Articulate Storyline (.story) Files
Use compress_story_media.py when you want to shrink a Storyline source file by compressing the media inside it. The script creates a new .story file and leaves your original unchanged.
Step 1: Download and Prepare Your Files
- Download the compressor folder from the shared drive folder to your computer (e.g., to your Desktop or Documents folder).
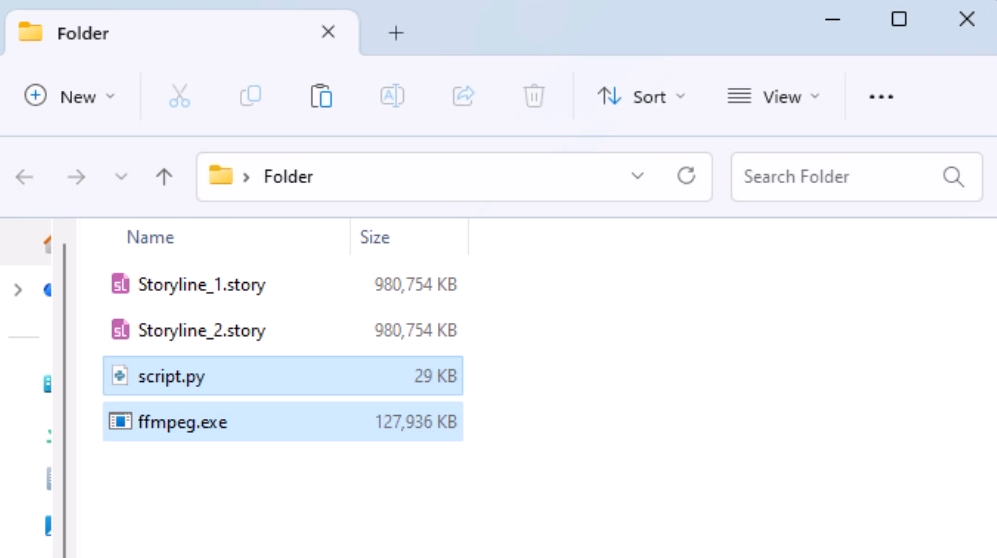
- Copy your .story file(s) into the downloaded folder. For example, if you have
MyCourse.story, copy it into the same folder that containscompress_story_media.pyandffmpeg.exe.
Step 2: Open a Command Prompt in That Folder
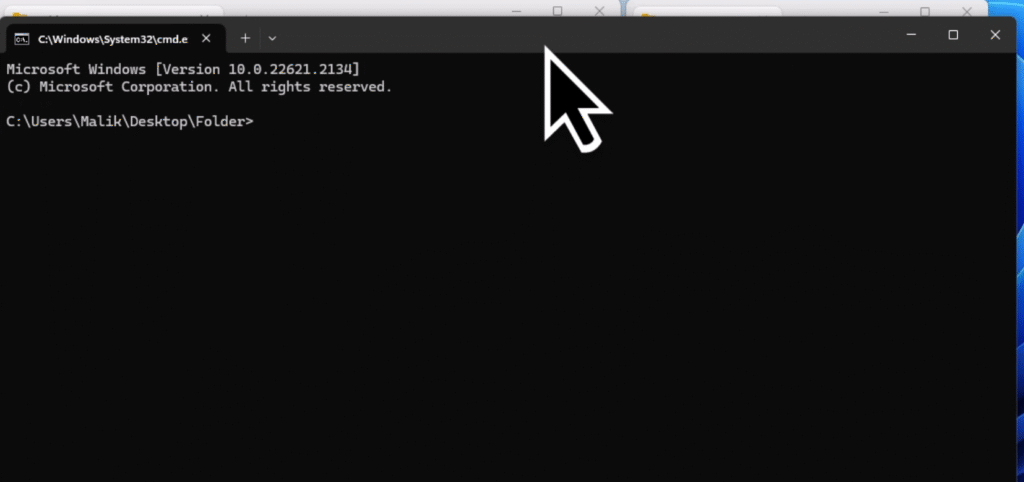
- Press Windows + R, type
cmd, press Enter. - Go to your folder, for example:
cd "C:\Users\YourName\Documents\Storyline Compressor"(Use your actual folder path.)
Step 3: Run the Storyline Compressor
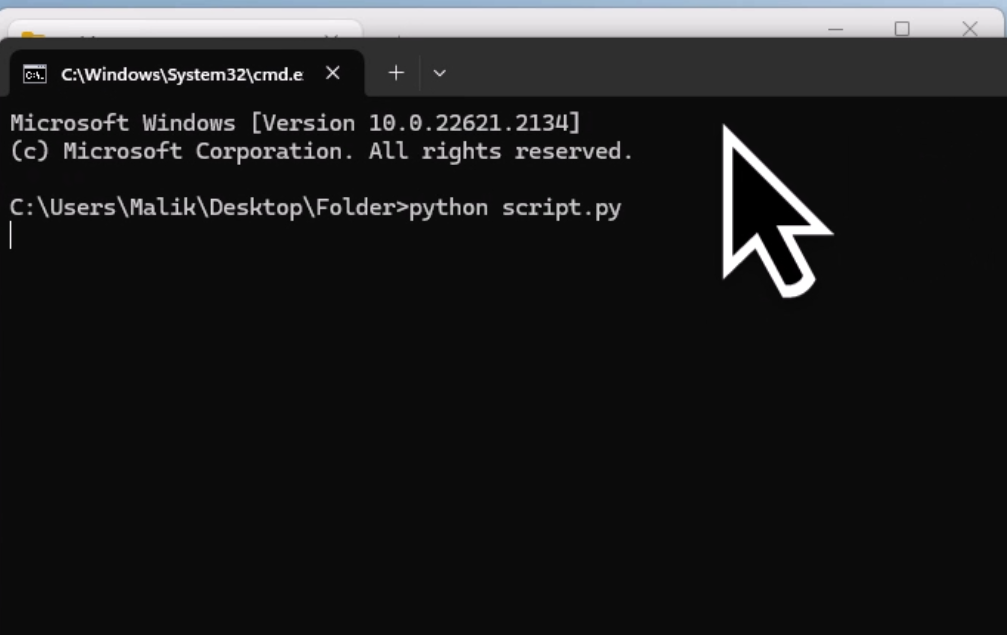
Type:
python compress_story_media.pyPress Enter.
Step 4: Let the Script Find FFmpeg
- The script will automatically find
ffmpeg.exein the same folder. You should see “✓ Found FFmpeg” – continue to the next step. - If you see an error, make sure you’re running the script from the folder that contains
ffmpeg.exe.
Step 5: Choose What to Compress

You’ll see: “SELECT MEDIA TYPES TO COMPRESS”
Options:
- 1 – JPEG images only
- 2 – PNG images only
- 3 – GIFs only
- 4 – Videos only
- 5 – Audio only
- 6 or all – All of the above
Type the number or all and press Enter. For most cases, 6 or all is best.
Step 6: Choose Compression Level
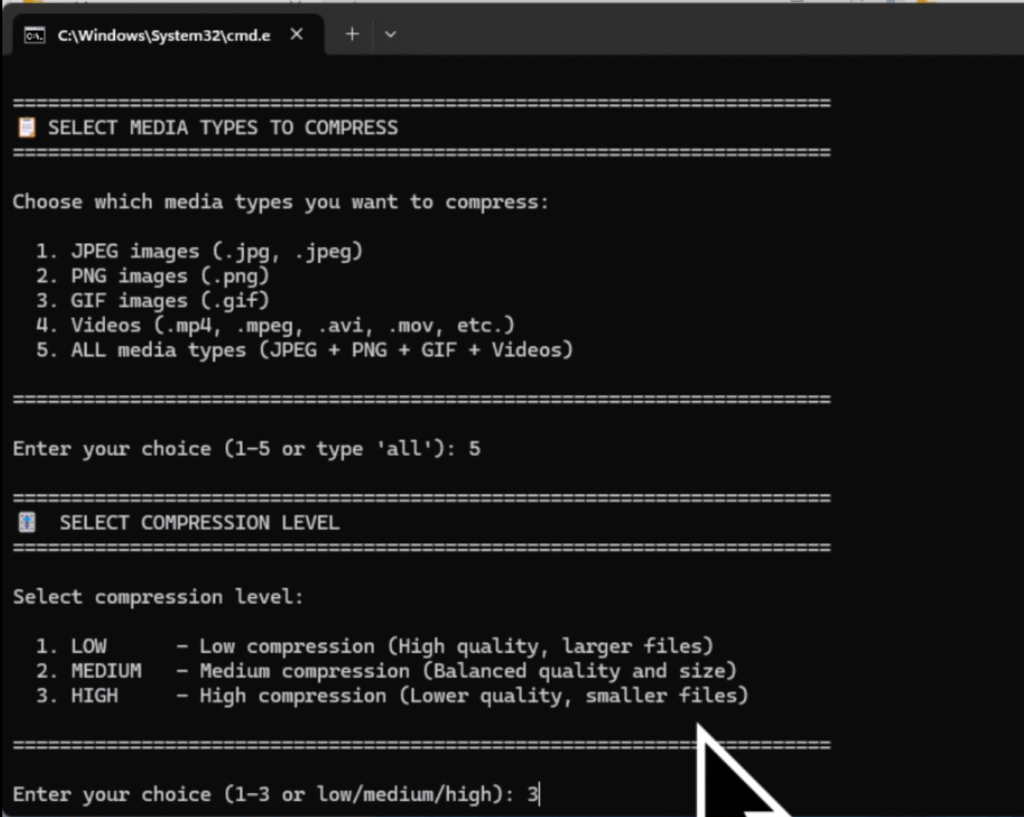
You’ll see: “SELECT COMPRESSION LEVEL”
- 1 or low – High quality, larger files (e.g. when quality is critical).
- 2 or medium – Balanced quality and size (good default).
- 3 or high – Smallest files, lower quality.
Type 1, 2, or 3 (or low / medium / high) and press Enter.
Step 7: Confirm and Wait
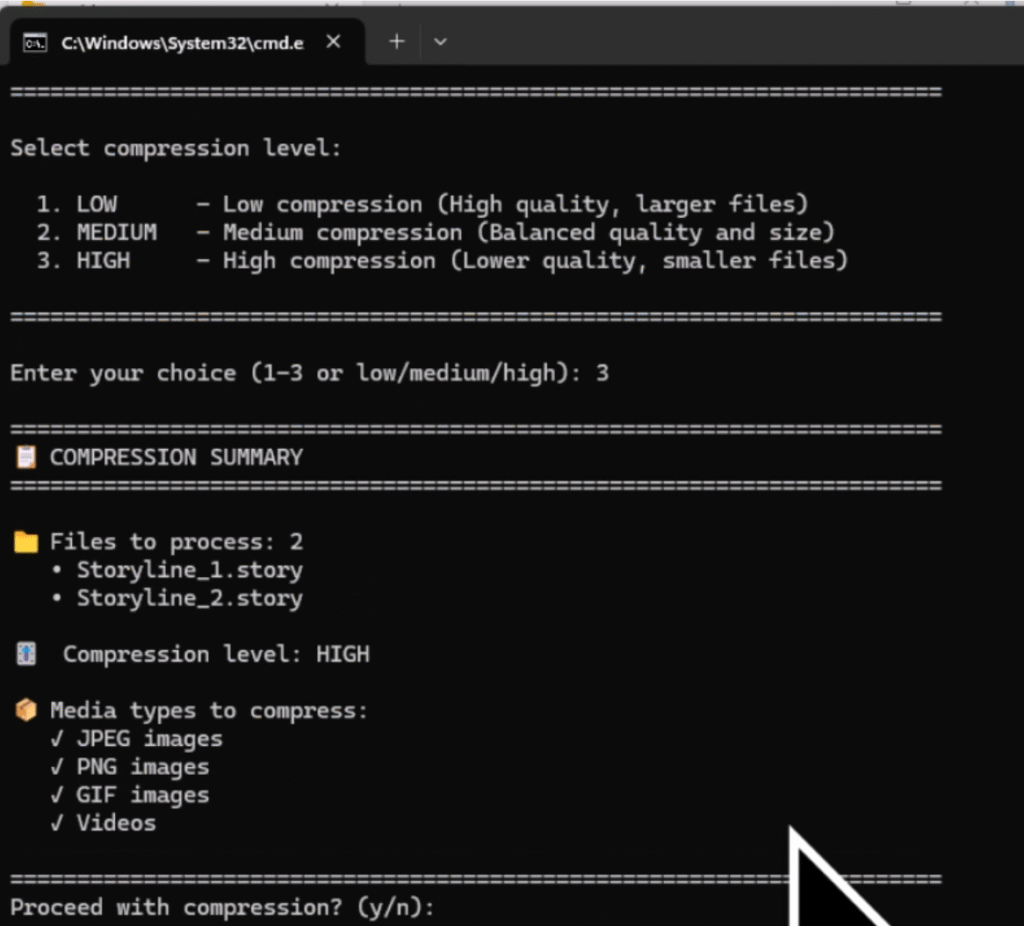
- The script lists the .story file(s) it found and your choices.
- When it asks “Proceed with compression? (y/n)”, type y and press Enter.
- Wait while it extracts, compresses media, and repacks. Time depends on file size and your PC.
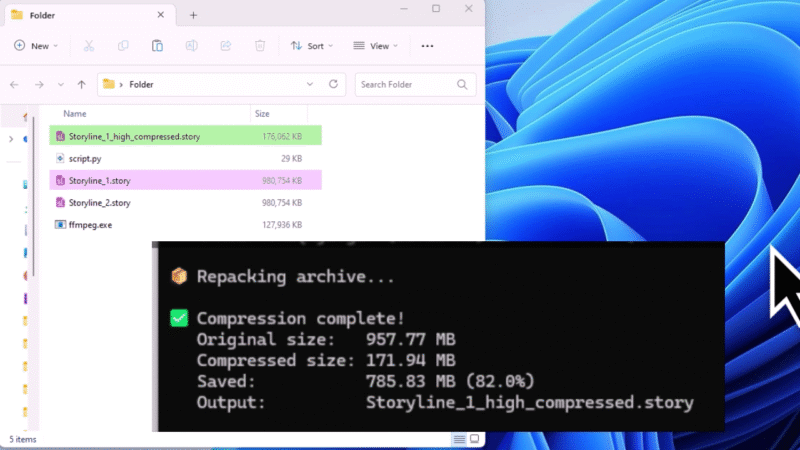
Step 8: Get Your Compressed File
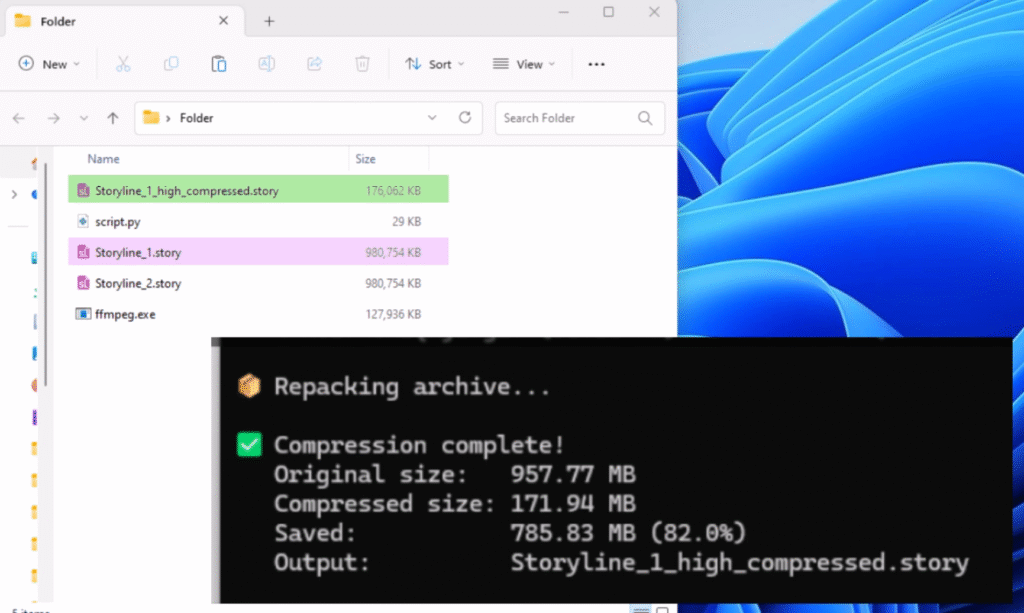
- When it finishes, you’ll see “Compression complete!” with original size, new size, and space saved.
- The new file is in the same folder, with a name like:
MyCourse_medium_compressed.story- Your original .story file is not modified. You can open the new one in Storyline and test it.
Part 2: Compressing Media Files in a Folder (Images, GIFs, Videos)
Use compress_media_files.py to compress images (JPEG/PNG), GIFs, and videos inside a folder and all its subfolders. Warning: this script replaces the original files with compressed versions. Back up the folder first if you need to keep originals.
Step 1: Back Up Your Files (Important)
- Copy the entire folder you want to compress to a safe location (e.g. “My Media Backup”).
- Only run the script on the copy if you want to keep untouched originals.
Step 2: Download the Compressor Folder
- Download the compressor folder from the shared drive folder to your computer (if you haven’t already).
- Open Command Prompt and go to the downloaded compressor folder:
cd "C:\Users\YourName\Downloads\Storyline Compressor"(Use the actual path where you downloaded the folder.)
Step 3: Go to the Folder You Want to Compress
Change to the folder that contains your media (and subfolders you want to include), for example:
cd "D:\My Project\Media"The script will work on this folder and all subfolders inside it.
Step 4: Run the Media File Compressor
Type:
python compress_media_files.pyPress Enter.
Step 5: Let the Script Find FFmpeg
- The script will automatically find
ffmpeg.exein the compressor folder. You should see “✓ Found FFmpeg” – continue to the next step. - If you see an error, make sure you downloaded the complete folder with
ffmpeg.exeincluded.
Step 6: Choose Media Types
You’ll see: “SELECT MEDIA TYPES TO COMPRESS”
- 1 – Images only (JPEG, PNG)
- 2 – GIFs only
- 3 – Videos only
- 4 – All (images + GIFs + videos)
Type 1, 2, 3, or 4 and press Enter.
Step 7: Choose Compression Level
Same as Part 1:
- 1 or low – Less compression, better quality.
- 2 or medium – Balanced (good default).
- 3 or high – Maximum compression, smaller files.
Type your choice and press Enter.
Step 8: Confirm (Remember: Originals Will Be Replaced)
- The script shows how many files it will process and warns that originals will be replaced.
- When it asks “Proceed? (yes/no)”, type yes (or y) and press Enter.
- Wait for it to finish. Videos take the longest.
Step 9: Check the Results
- When done, you’ll see a “COMPRESSION SUMMARY” (how many files compressed, space saved).
- Your current folder and subfolders now contain the compressed versions in place of the originals. If you backed up the folder, your originals are still in the backup.
Troubleshooting
- “FFmpeg not found”
Make sure you downloaded the complete compressor folder from the drive folder, which includesffmpeg.exe. The script should find it automatically if it’s in the same folder. If you’re still having issues, make sure you’re running the script from the folder that containsffmpeg.exe. - “No .story files found”
Make sure you ran the command in the folder that contains your .story file(s) when usingcompress_story_media.py. - “No files to process” (Media File Compressor)
You’re either in a folder with no supported media, or you chose a media type that doesn’t exist in that folder. Check the folder path and try “All” (option 4). - Script runs but some files are “skipped”
The script skips very small files (e.g. under 50 KB for images) and only replaces a file if the compressed version is smaller. So “skipped” or “no benefit” is normal for some files.
Summary
- Download the compressor folder from the shared drive folder—it contains both scripts and
ffmpeg.exe. - Storyline (.story): Copy your .story file into the compressor folder, run
compress_story_media.py, choose media types and level; get a new*_compressed.storyfile. - Folders of media: Back up first, then run
compress_media_files.pyfrom the folder you want to compress; choose media types and level; confirm—originals in that folder will be replaced.
Both tools are free, run locally, and use FFmpeg for compression. Everything you need is included in the drive folder, just download and use!


